
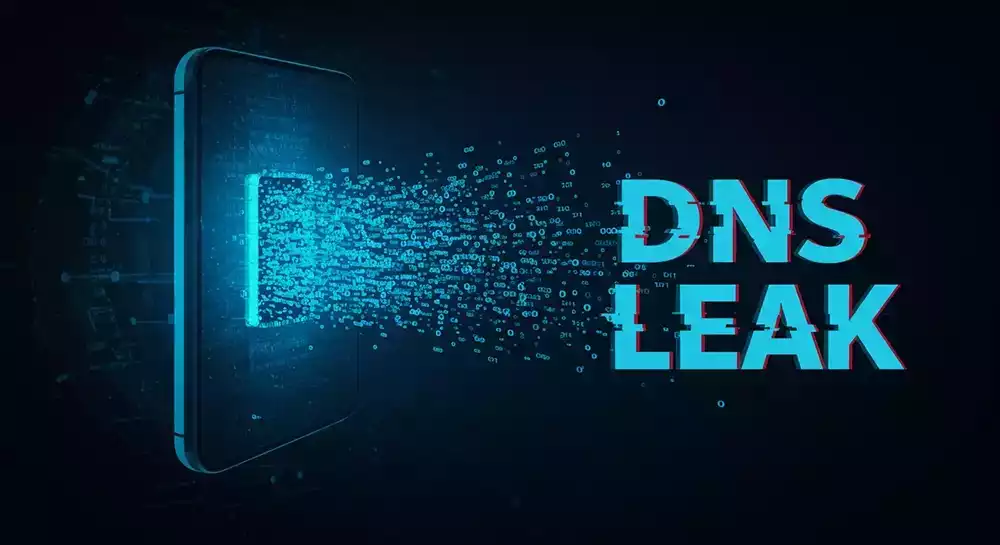
How to Prevent DNS Leaks
If you're leaking DNS requests, your device is likely using a DNS server that doesn't belong to your VPN. This guide helps you identify the cause and fix it.
⚠️ Why Are DNS Leaks Dangerous?
A DNS leak exposes your browsing activity to your Internet Service Provider (ISP). Your ISP can log and sell your online behavior to advertisers, data brokers, or even hand it to government agencies on request.
Cybercriminals can also take advantage of DNS leaks by launching phishing attacks, pushing malicious ads, or harvesting credentials from social sites. It’s critical to stop DNS leaks to protect your privacy and security.
🧪 How to Check for DNS Leaks
You can run a test using the DNS Leak Checker. Results:
- 🟢 No DNS leaks – You're safe.
- 🟡 Test failed – Try again in a private window or different browser.
- 🔴 DNS Leak Detected – Read below to fix it.
🛠️ What Causes DNS Leaks (and How to Fix Them)
🧩 VPN App Settings
Most VPN apps prevent DNS leaks by default. But enabling custom DNS options can break that protection. Unless you’re sure of what you’re doing, keep default settings enabled in your VPN.
🌐 Web Browser Settings
Many browsers support DNS-over-HTTPS (DoH), which can bypass your VPN's DNS settings. Turn it off to avoid leaks:
🦊 Firefox
- Go to Settings > Privacy & Security
- Scroll down to Enable secure DNS
- Set it to Off
🌐 Chrome / Brave
- Go to Settings > Privacy and Security > Security
- Turn off Use secure DNS
🧭 Microsoft Edge
- Go to Settings > Privacy, Search, and Services
- Scroll to Security
- Turn off Use secure DNS
📱 Android (Phones & Tablets)
Disable Private DNS (Android 9+):
- Open Settings > Network & internet
- Tap Private DNS
- Select Off and tap Save
Chrome or Brave on Android:
- Go to Settings > Privacy and Security
- Disable Use secure DNS
🍏 iPhone (iOS)
iPhones don’t have DNS-over-HTTPS toggles like Android, but DNS leaks can still happen.
To reduce risk:
- Use a VPN with DNS leak protection (e.g. Mullvad, IVPN, ProtonVPN)
- Go to Settings > Wi‑Fi, tap the ⓘ next to your network
- Set Configure DNS to Automatic
🪟 Windows 11
Disable DoH manually via Command Prompt (Admin):
netsh dns add global doh=no
netsh dns add global dot=no
netsh dns show global
🍎 macOS
If using apps like Little Snitch, check that DNS encryption isn’t enabled.
🐧 Linux
If you see IPv6 DNS leaks, either:
- Enable IPv6 in your VPN app
- Or disable IPv6 in your Linux network settings
🚫 Apps That Can Hijack DNS
Some third-party apps override your DNS settings. Examples include:
- 🛡️ Avast Premium Security – Disable Real Site
- 🛡️ AVG Internet Security – Disable Fake Website Shield
- 🔁 F‑Secure – Can cause DNS leaks to Amazon servers. Try uninstalling.
- 🔀 Portmaster – Hijacks DNS. Uninstall to resolve leaks.
✅ Final Tips
Preventing DNS leaks is essential for online privacy. Always verify your DNS settings after switching VPNs or installing new software. Stick to privacy-respecting VPNs and avoid third-party apps that tamper with your DNS settings.